Register your Device
The first time you open the app, you will be presented with a registration screen for the company ID. You will need to enter Empower's company ID.
Company ID: 800160.
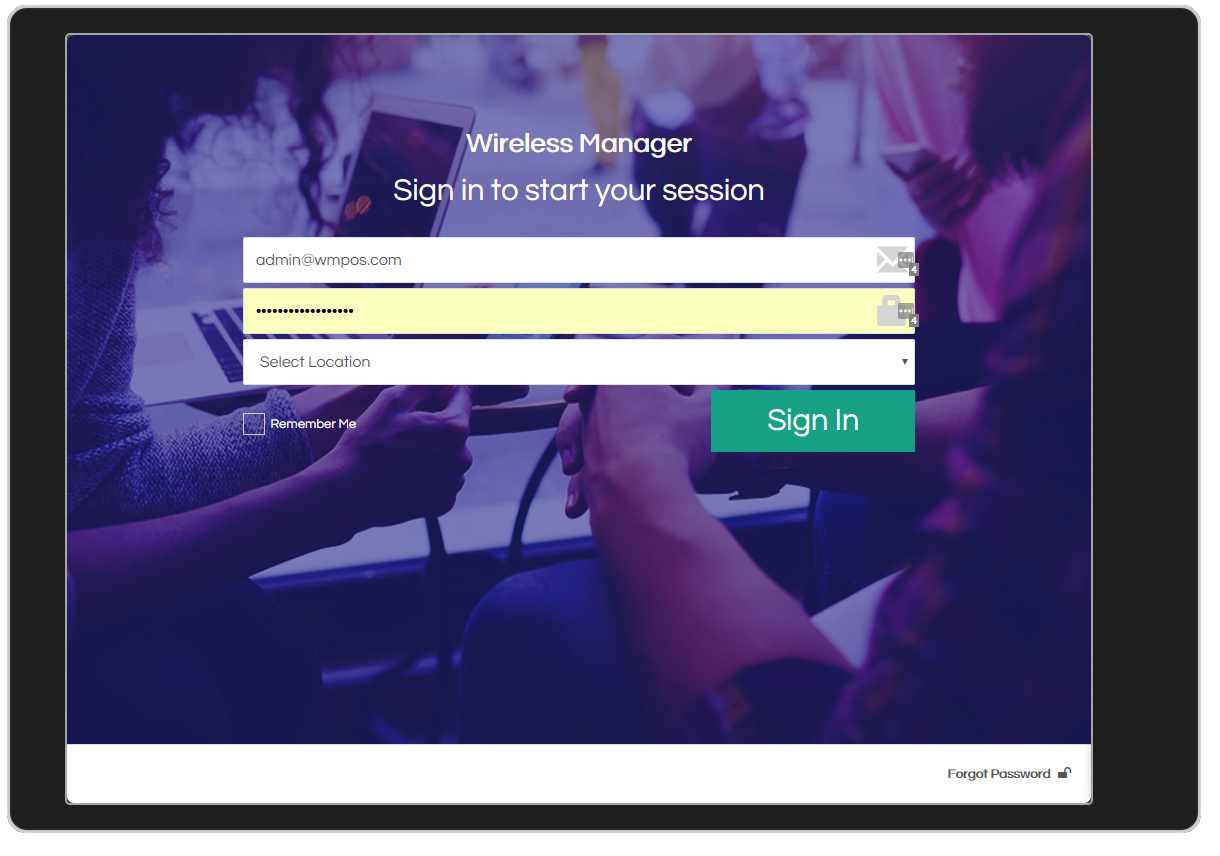
Log into your Store
Once you have successfully registered your device, you will need to login. Your credentials are linked to your set store. If your login allows you access to multiple locations, you can select a store you want to logged into by using the location dropdown.
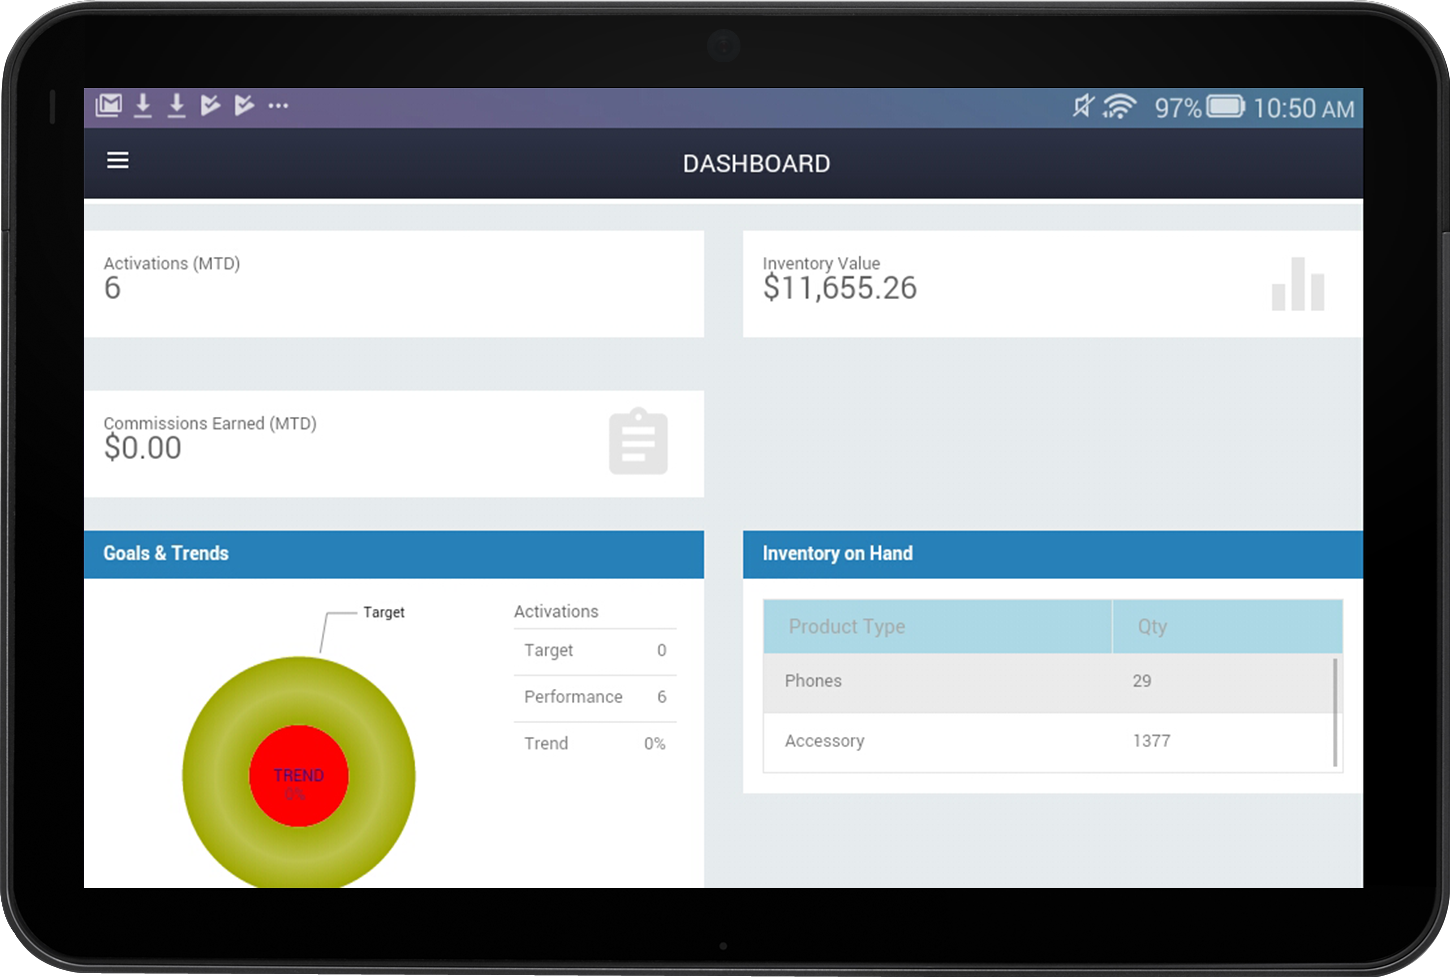
Dashboard
After you have successfully logged in, you will be taken to the dashboard where you can see your relevant data such as your activations, inventory and even commissions earned.
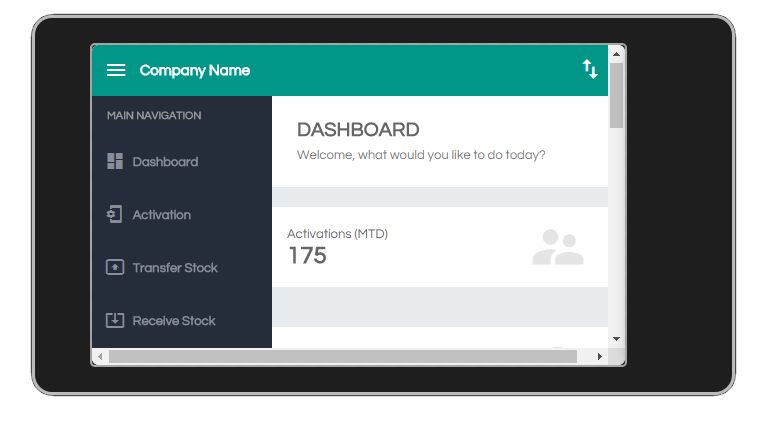
Navigation
Navigate the app by using the menu shortcut found at the top left-hand side of the app
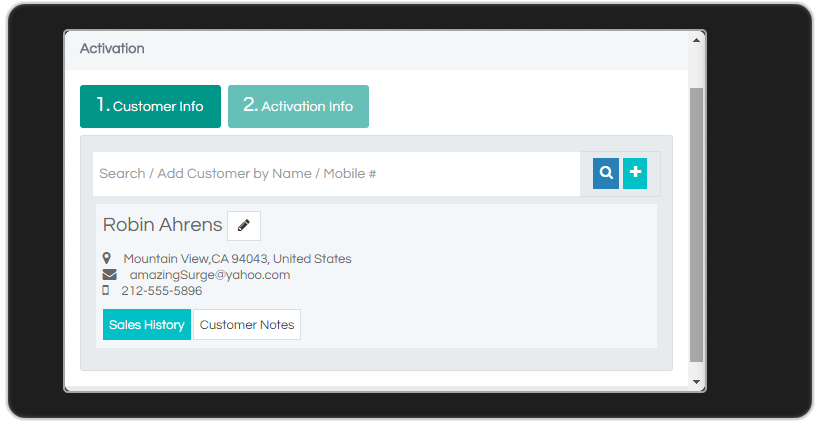
Activations
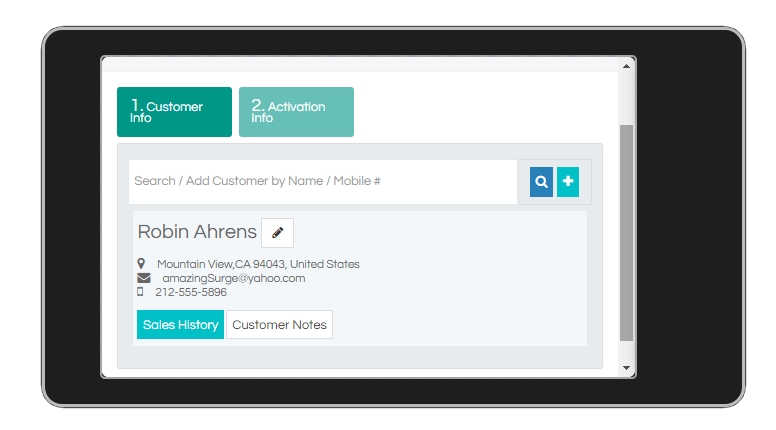
To record activations, go to the activation option of the app. There are two tabs in this window. The first tab to enter or search for the customer info and the second tab to enter the phone activation info.
On the first tab, you can either create a new customer record or enter the existing customers name/mobile number to pull up his records. As soon as you have entered or selected the customer info, you will then be taken to the second tab for the activation details.
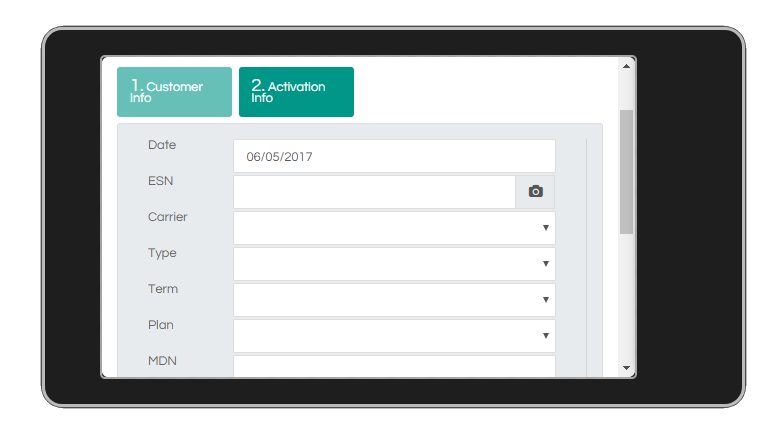
On the activation info tab, you can manually enter the ESN of the phone or use the barcode scanner (camera) function of the app. You simply then just need to enter the required activation details.
Click save to finish the transaction.
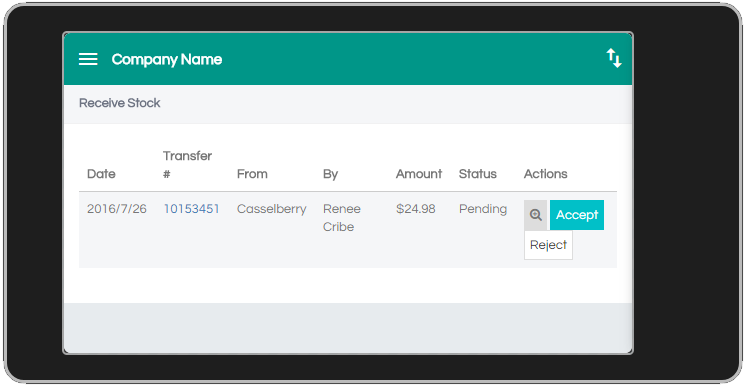
Receive Stock
Go to Receive Stock If you are receiving inventory from another location or from the warehouse. This window will show you all inventory that is to be received. Simply click on accept to have those inventory be added to your stock.
You can also reject the transfer if needed.